First, unzip the downloaded zip file and put it where you want to put it.
Sorry for the Japanese Steam screen.
Open Steam and find FaceRig in your library. Right-click on it and choose Manage > Browse Local Files.
The FaceRig folder will open. Open Bin>Tools>ImportWizardNew>ImportWizard.exe Select “Yes” when the Windows warning appears.
When this window appears, select ModelImporter.
When this screen is displayed, open the Import Type on the upper left and select Generic Prop.
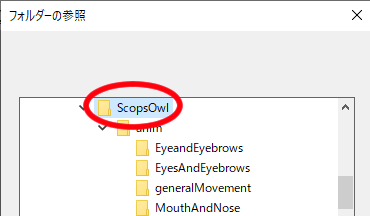
Next, press the Browse button in the Data Folder column and select the file you just unzipped.
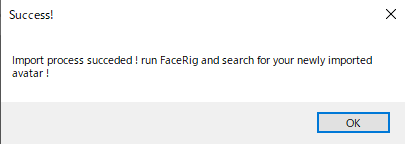
When it has been loaded, press Import in the lower right corner.
When Success! is displayed, click OK and close all windows.
Launch FaceRig and press Change to Advanced UI on the far right side of the menu above.
Select avatar in the right side menu, select the Prop tab and press the Add Prop button.
Custom props are shown in ? mark.
When you select an icon, the name of the prop appears at the top.
The Bone link allows you to choose where to put the prop. Selecting Head for hats and sunglasses and Jaw for candy and pacifiers should work well linked together.
Click Atouch to equip it.
If you scroll down, there is a bar that allows you to adjust the position of the prop, so you can fine-tune the position there.
When you are ready to make adjustments, you can use the save button in the lower right hand corner to create a file to save the position of the prop. It is recommended that you save the file in a location that is easy to find.
You can load the adjusted data by selecting the save file using the load button in the lower left corner.
If you want to add a second or third prop, you can equip more by pressing the Add Prop button in the top left corner.
If you have any questions, please contact us on Twitter or in the comments.
Open Steam and find FaceRig in your library. Right-click on it and choose Manage > Browse Local Files.
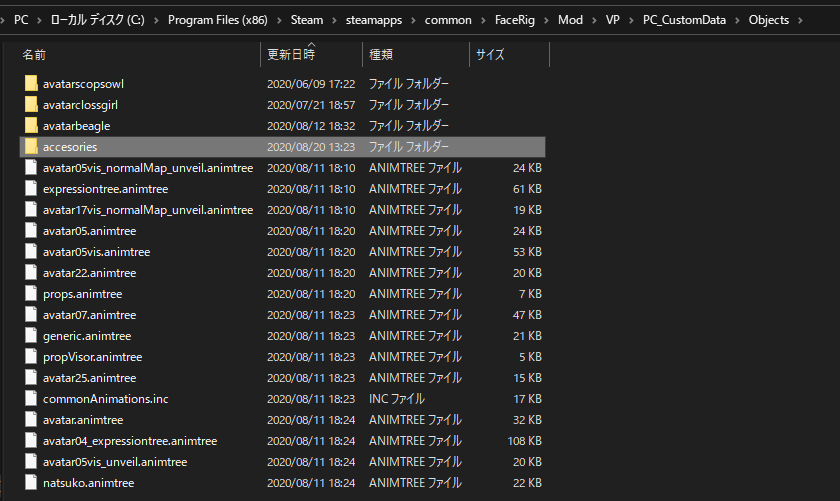
Open FaceRig/mod/VP/PC_CustomData/Object. Delete only the avatar*** (the name of the avatar you want to delete) folder in the folder. It will be removed from the list of avatars in FaceRig.
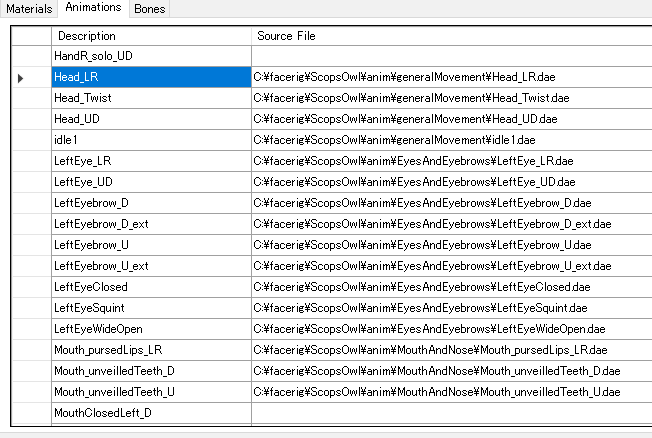
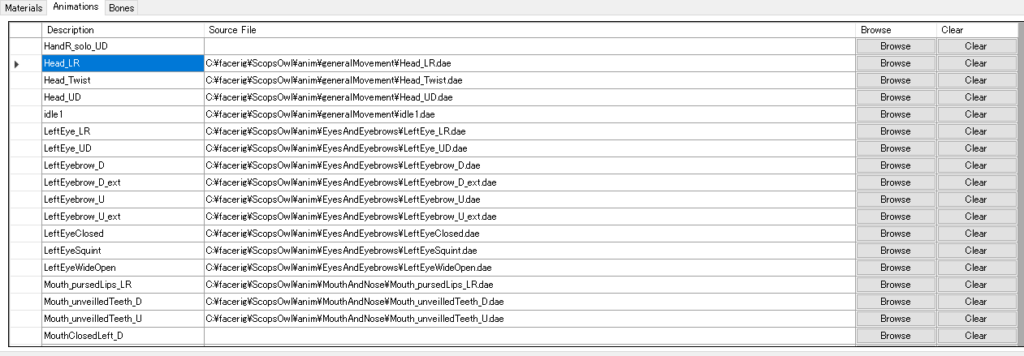
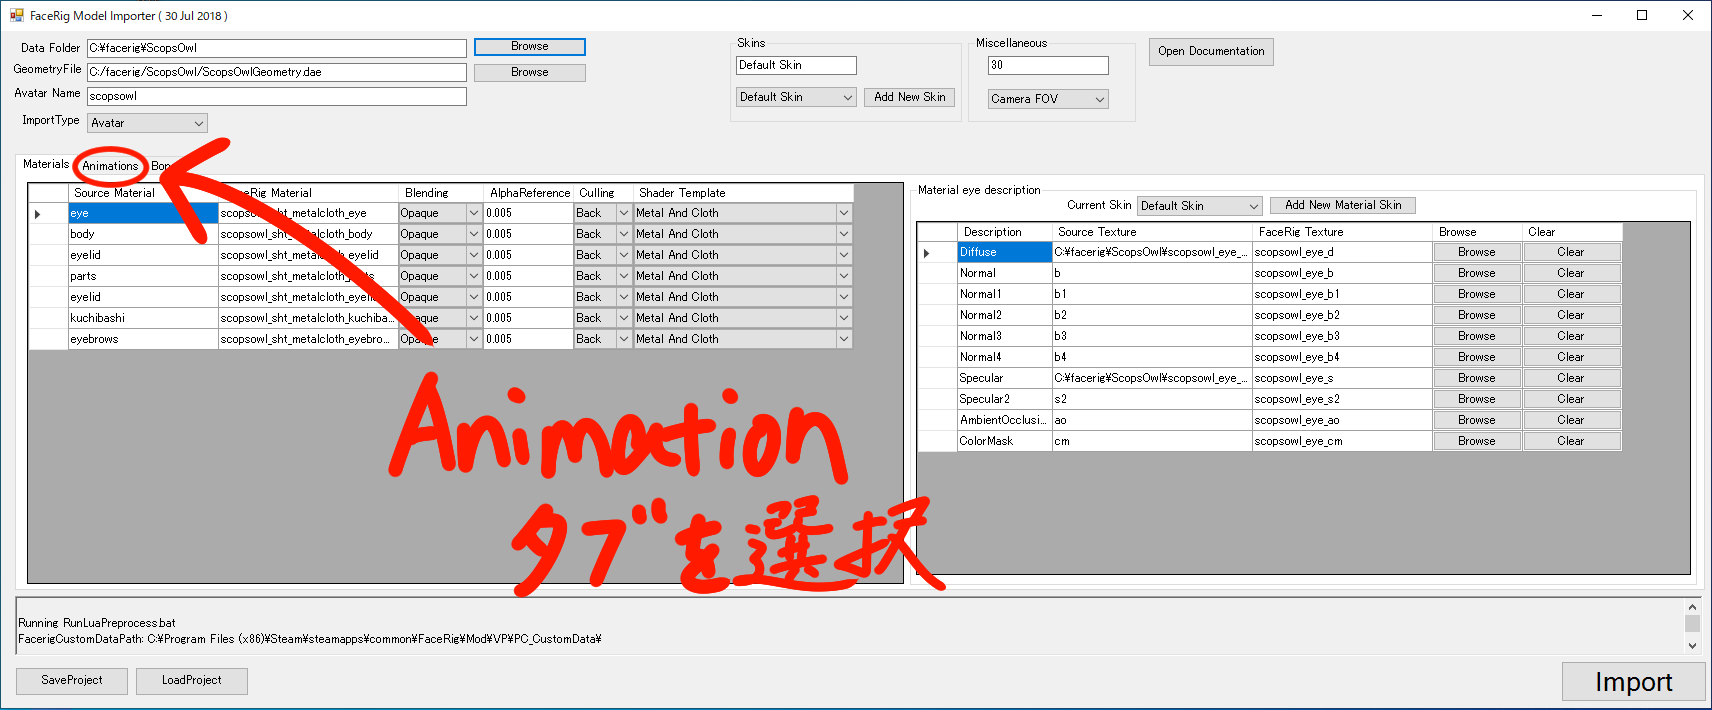
Open the Animation tab. Open “EyeAndEyebrows”, “generalMovement” and “MouthAndNose” in the anim folder of the downloaded folder. Compare the .dae folder and the animation tab in that folder and find the place that is blank with the same name. Press the Browse button in that blank space and select the .dae of the same name.
Textures do not appear.
(The free sample data is just black on white with the word “Sample” written in Japanese.)
It may not have been loaded automatically when importing. Please follow the instructions on the page below and come back without pressing Import!
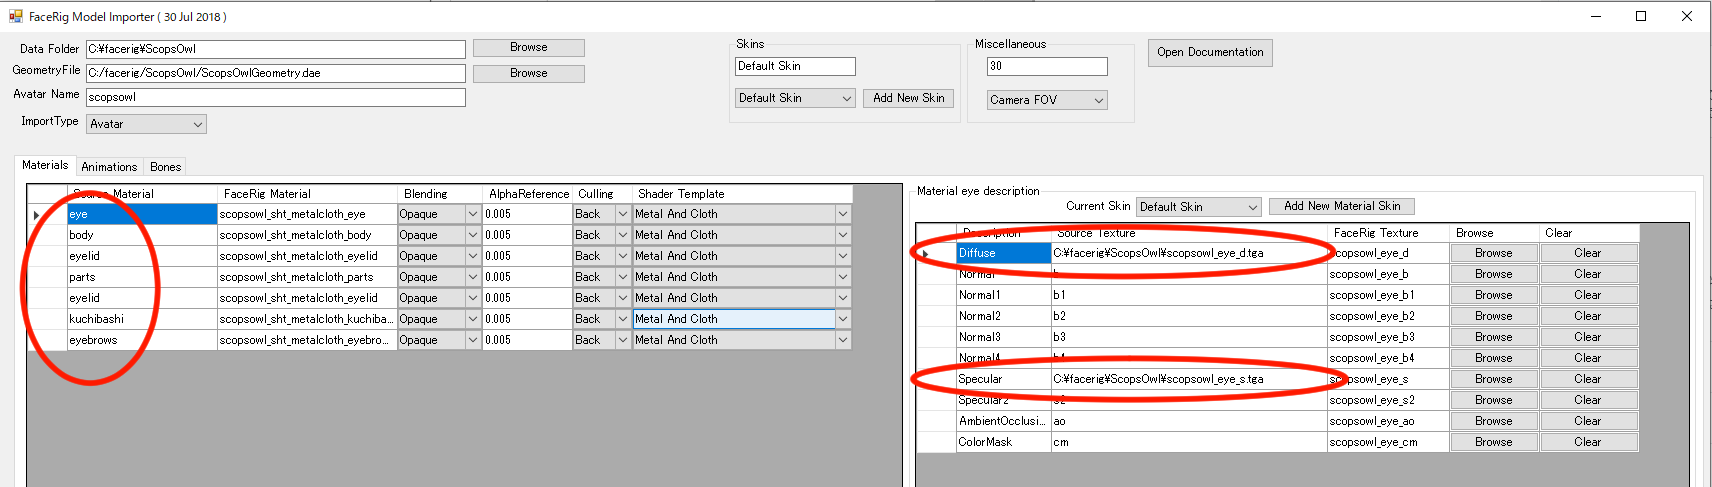
Select each of the parts marked on the left. Make sure that each of them contains the file paths corresponding to the Diffese and Specular marked on the right. If only d and s are present, press Browse button and select the files according to the example below.
Example: If you select eye on the left and the right diffuse has only a “d” instead of a file path
Select ***_eye_d.tga in this data file. Check all parts and if all the Diffuse and Specular fields are filled with file paths, import and check them.